Everything in its Place
The Blog
Happy Friday, y’all! Maybe you saw my post on my garage progress earlier this week. Today, I want to focus in on one of my very favorite organization elements – the dry erase pegboard! I simply ADORE it.

If you know me, you know that I’ve had a pretty serious obsession with chalkboard paint for awhile now. I love it because it’s dark and dramatic, while simultaneously so flexible and fun. Naturally, I love dry erase paint because it’s pretty much the yin to chalkboard paint’s yang.
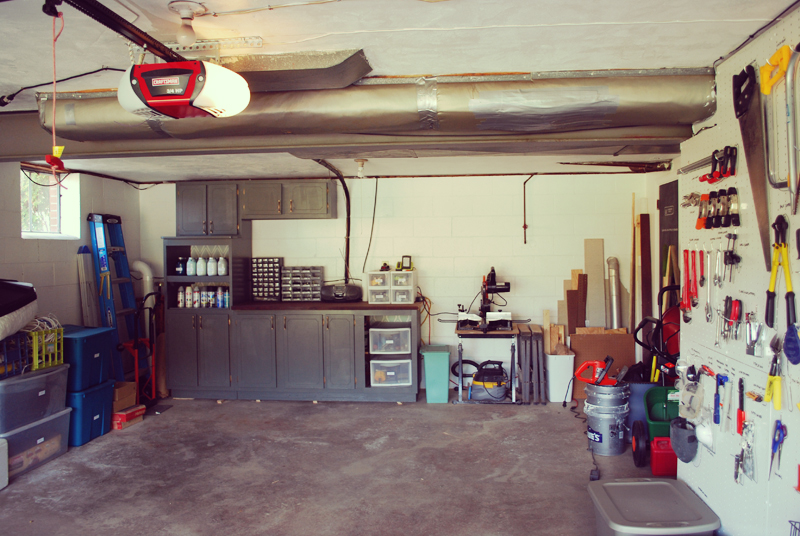
I elected to use it in this case because I knew I was keeping the garage walls white, and I wanted the peg board to blend in.
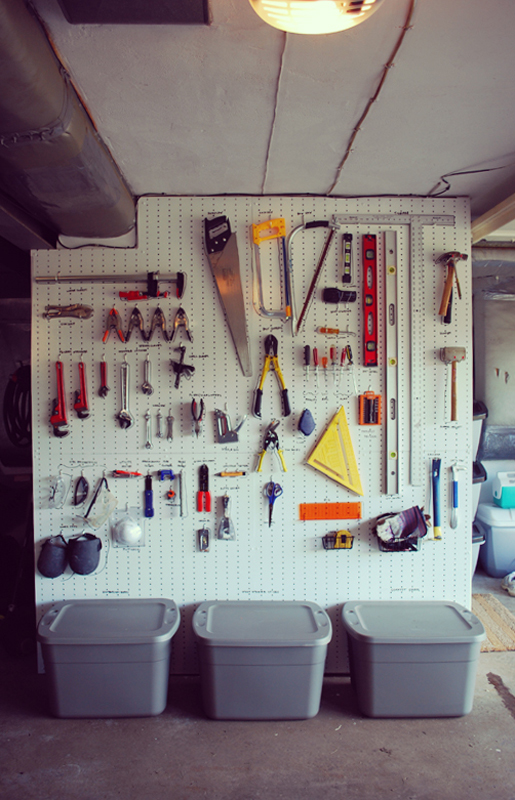
With all of the colorful tools that would be hanging on it, I knew that the pegboard needed to be as subtle as possible so as to keep the wall from being to visually overwhelming and heavy.
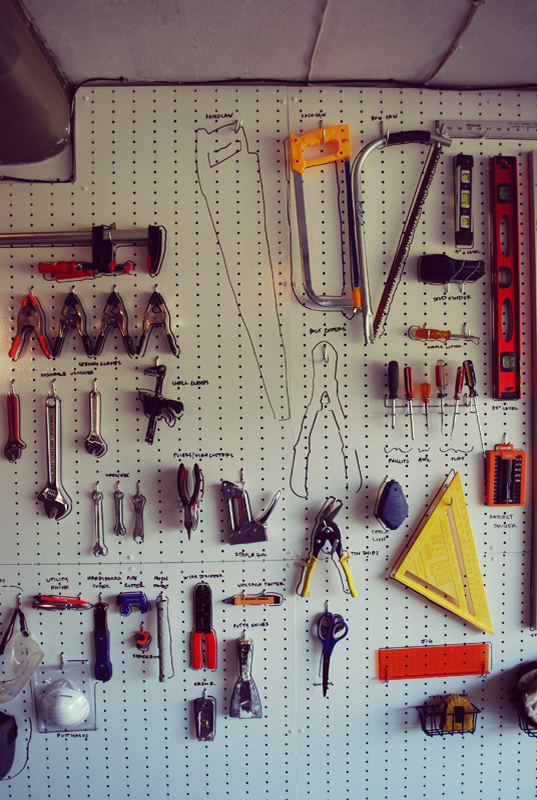
The dry erase surface would also allow me to trace my tools and label them, ensuring that everything had a clear place and could easily be put away.
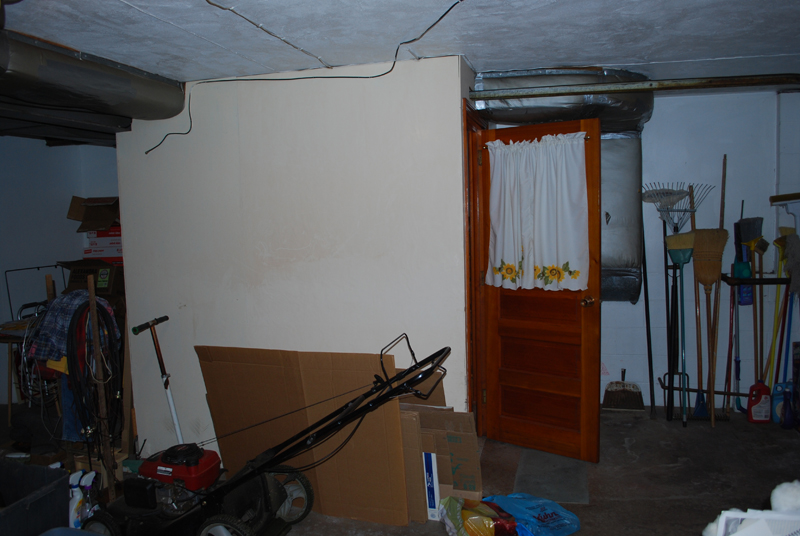
Before – Future Pegboard Location, c. 2012
As I mentioned the other day, I purchased reclaimed sheets of pegboard from Construction Junction here in Pittsburgh. They had quite a selection of sizes and in our efforts to select the most efficient combination, we inadvertently chose the only panels that did not have standard hole spacing (crap!). (most pegboard has equally spaced holes in all directions but ours was missing every other vertical column of holes.) Unfortunately, we realized too late so we’re living with it (it definitely made things tricky hook-wise but it does the job).
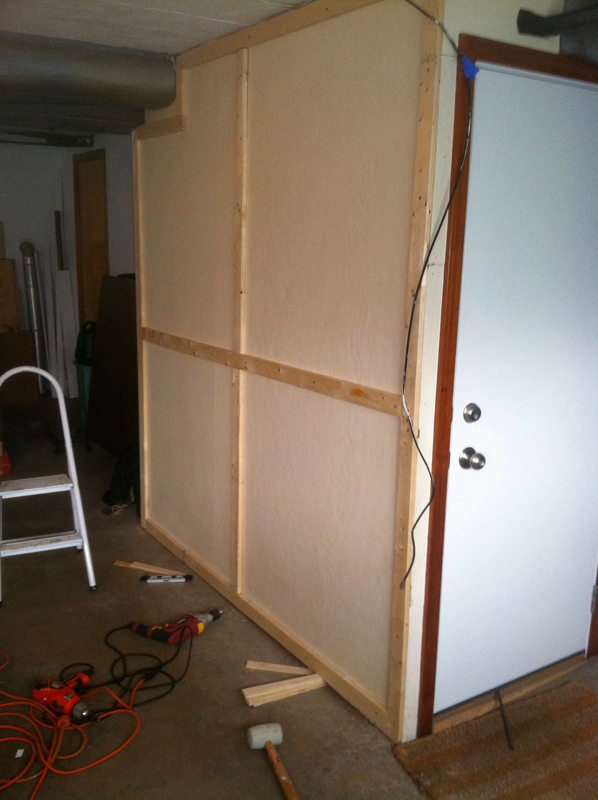
Progress – Furring Strip Installation
A good rule of thumb for installing pegboard is to make sure you have about ½” of space behind the board to allow room to install hooks, etc. For large spans like ours, the easiest way to do that is to use 1”x3” furring strips. If you’re familiar with wood sizes, you know that the 1”x3” dimension is nominal. The actual size of these strips is about ½”x2-1/2″. To install the peg board, I first installed the furring strips around the perimeter of the wall and up the middle, securing them using 1-5/8” Exterior Wood Screws. If you’re attaching these strips to a drywall wall, it’s a good idea to locate the studs and make sure you’re screwing into those. In our case, the outer layer of the wall was plywood so it wasn’t quite as crucial.
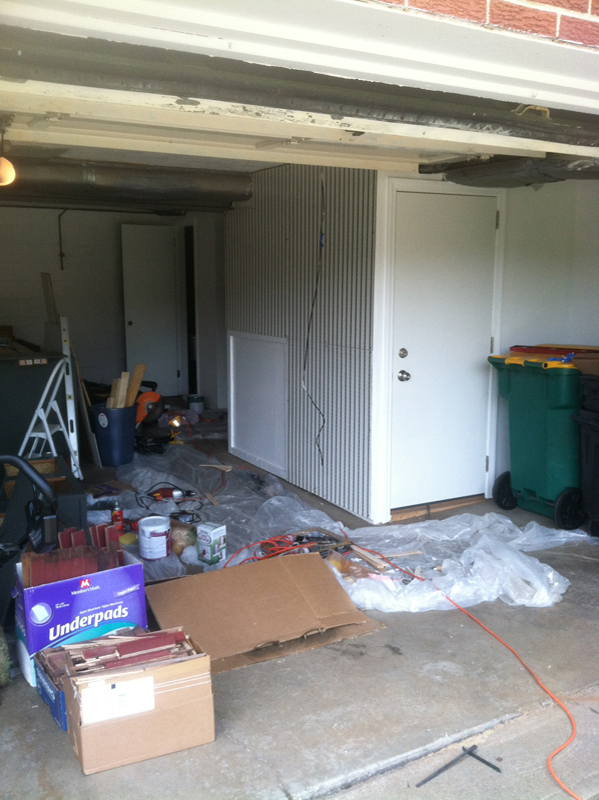
Progress – Pegboard Installation
Once the furring strips were in place, Alex helped me trim he pegboard sheets down to size with a circular saw and we screwed them into the furring strips with the same 1-5/8” screws.
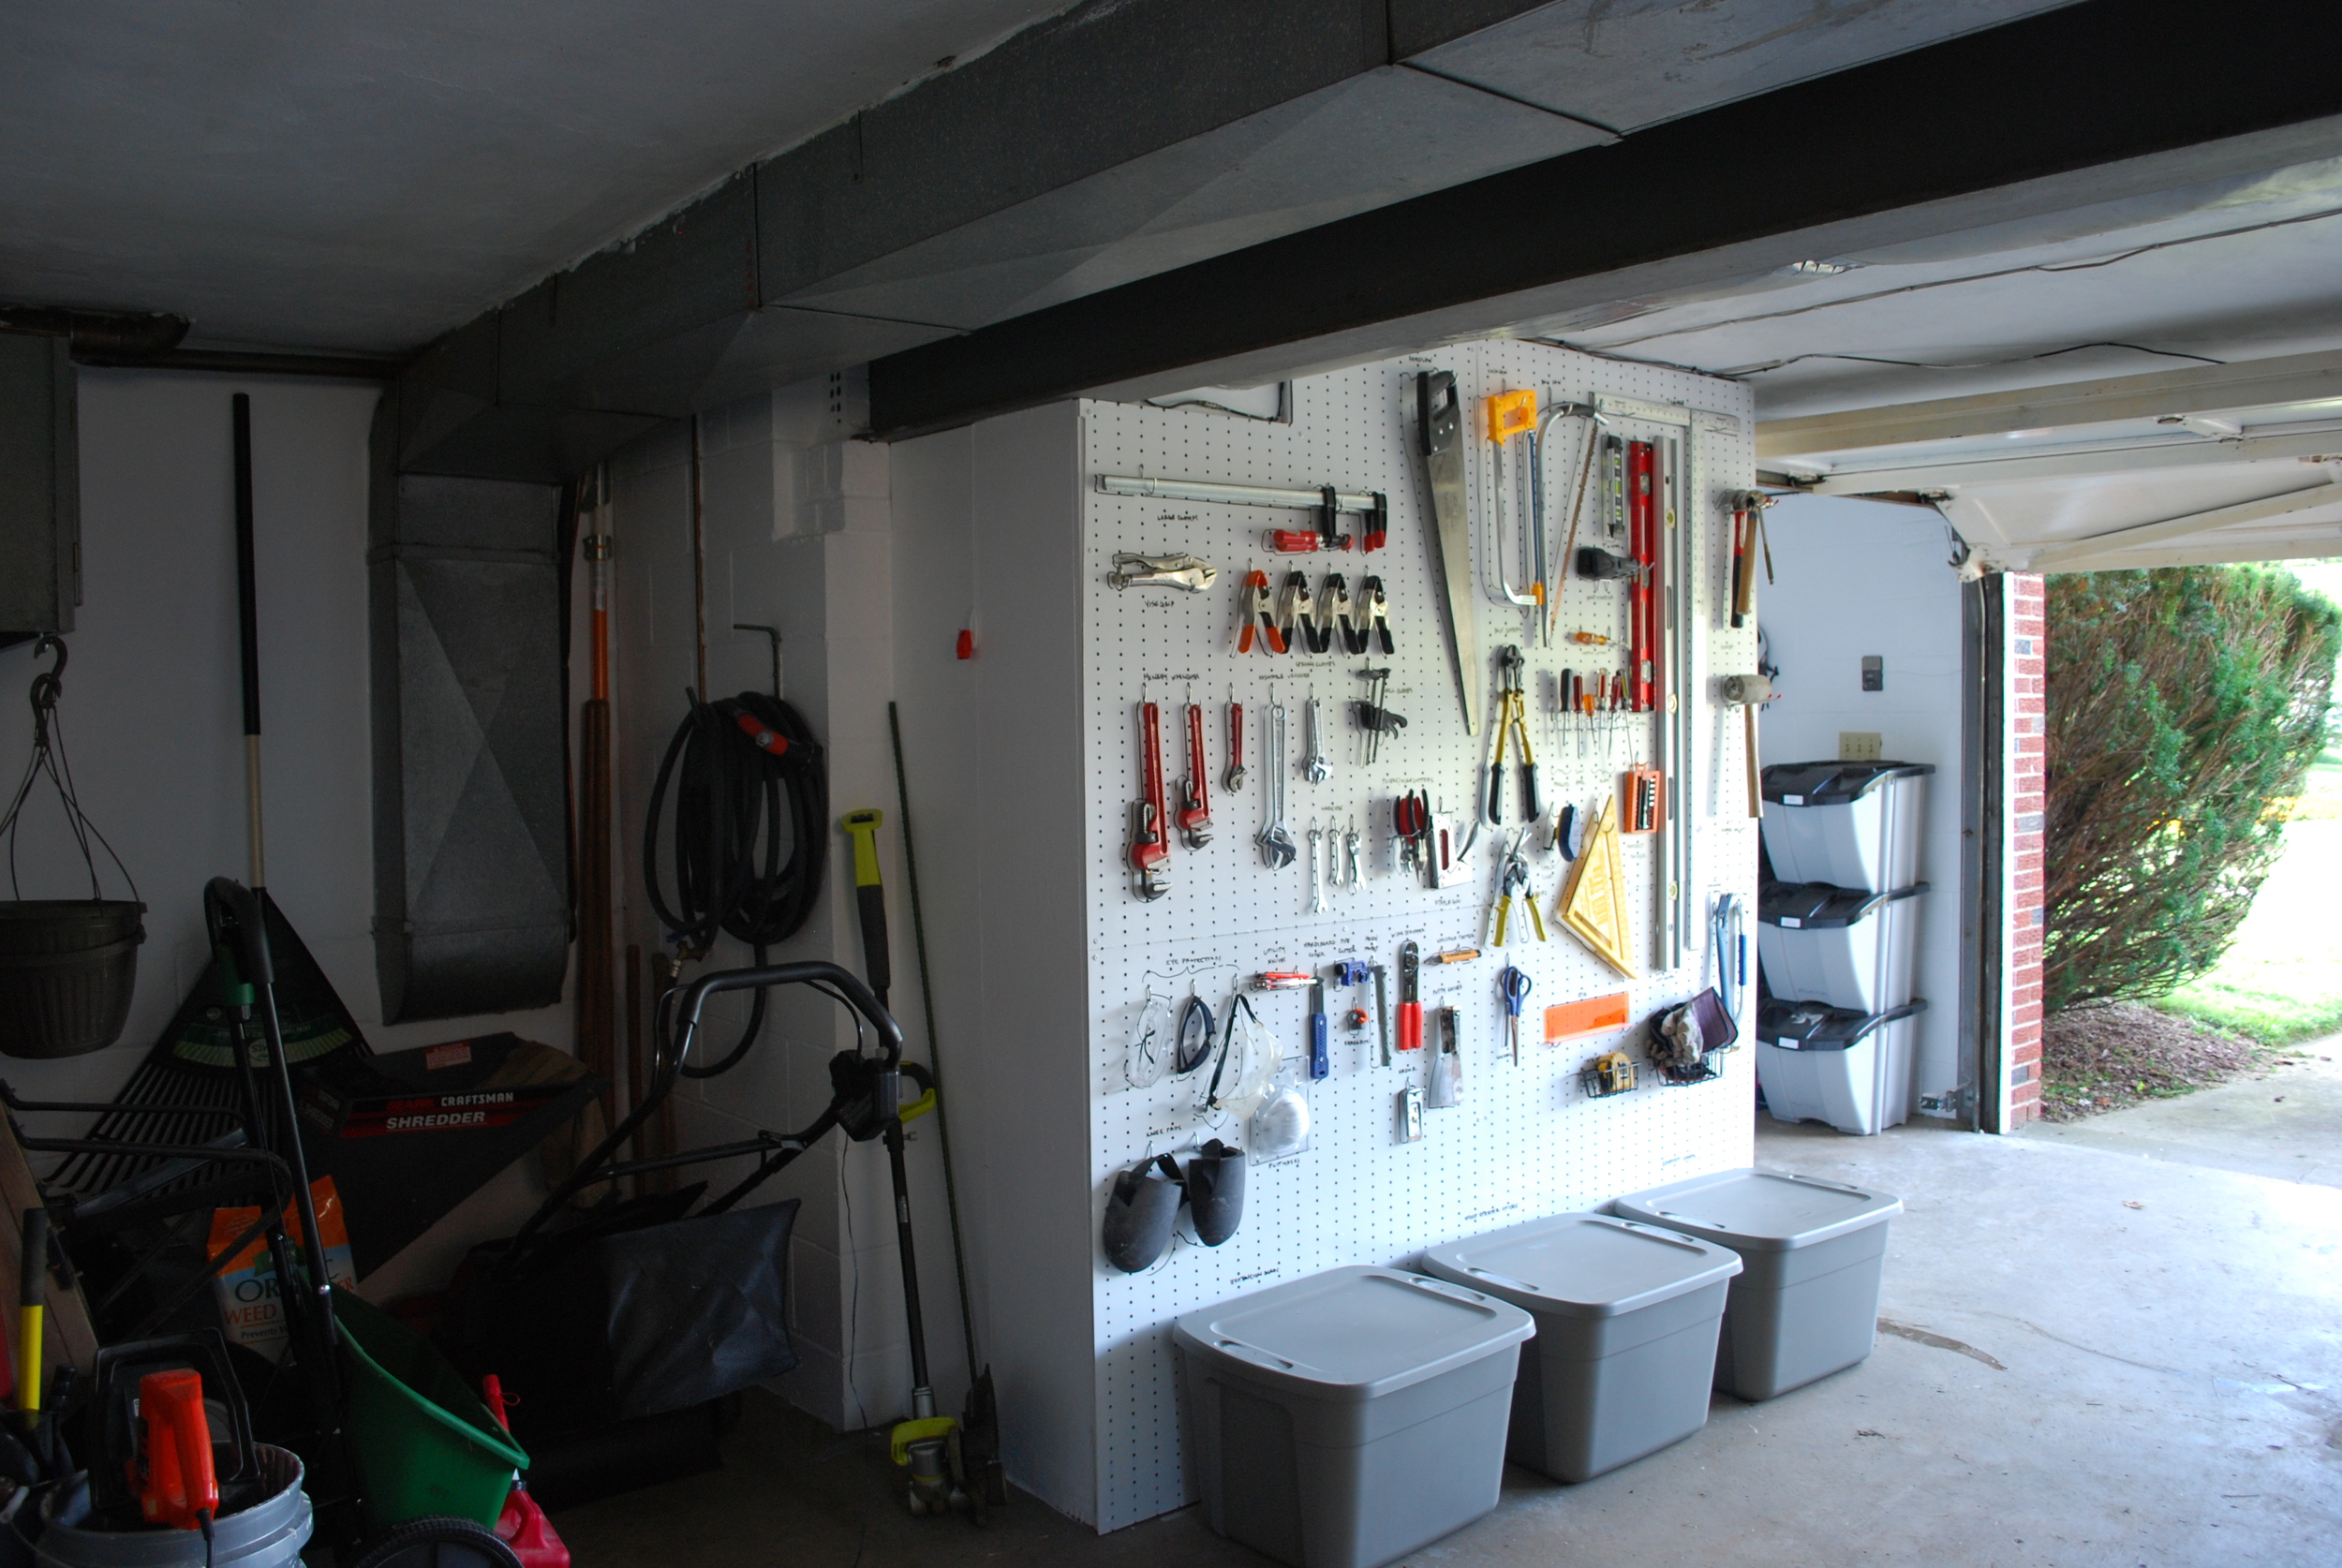
The next step was primer. The pegboard had a black and white striped pattern on it so unfortunately, it took about 4 coats of primer and 2 coats of regular wall paint to get them white enough for the dry erase paint. Once everything was dry and I found a free afternoon, I got ready to apply the dry erase paint. I used Rustoleum’s Dry Erase paint which is available at most Home Improvement stores. It came in two containers – 1 quart of paint plus a small can containing an activating agent. The activating agent must be added to the paint and then thoroughly mixed, right before you start painting. Once the two are combined, you only have 1 hour to use the paint. If memory serves, the instructions promised that it would cover a 2’x7’ area but I covered about an 8’x7.5’ area and still had paint leftover. It wasn’t too hard to apply – it’s just a bit runnier than your average paint. I used a high density foam roller to achieve the smoothest possible finish and was able to do about 4 thin coats in an hour’s time. It took 3 days for the paint to cure and then I was able to start hanging tools and drawing on the walls. The final finish actually feels exactly like a dry erase board!
Now, with all of the tools up on the wall — it’s so easy to find what we need! I also love that my husband can easily find where things go since everything has been traced and labeled. Plus, as our tool collection grows, I can move things around and retrace if need be. Definitely worth the work!
September 12, 2014

Leave a Reply Cancel reply
F: 9:00am-3:00pm
Cool idea! Looks like it came out well and definitely helps organize. I use a tool box but it isn’t as handy as a peg board. One Q- does the marker rub off where the tools touch and when you grab something off the board? Seems like you may end up redrawing not infrequently. And tools being dirty- the white might not last long. OK, and why did you install the pegboard as 4 pieces instead of 1 or 2 sheets?
Thanks, Jay! The marker can rub off but I haven’t really been having an issue with it. It’s been my experience that the longer dry erase marker sits, the harder it is to erase it without spraying dry erase board cleaner on it and now that the marker lines have been on there for about 3 months, they’re pretty well set. Our tool collection seems to grow with every project and I just couldn’t bring myself to commit to the standard method of outlining with permanent marker. And yes, white isn’t all that practical but isn’t it beautiful?! (This round: Architect – 1. Engineer – 0). There are 4 pieces because we purchased these as-is for a couple bucks each at our local architectural salvage shop. They used to be hung in a retail store somewhere in Pittsburgh. You would be proud!