Floorplanner.com
The Blog
Disclaimer: I am not affiliated with floorplanner.com and was not compensated for this post. All opinions are my own 🙂
I love furniture layouts. I’ve said it before; I’ll say it again.
In the professional organizing and downsizing industry, I’m privileged to draft furniture layouts for clients who are transitioning into new homes. It’s so rewarding to help them visualize their new space through the use of digital modeling. The model facilitates the planning process and helps clients to make educated decisions on what pieces to keep and which to relinquish.
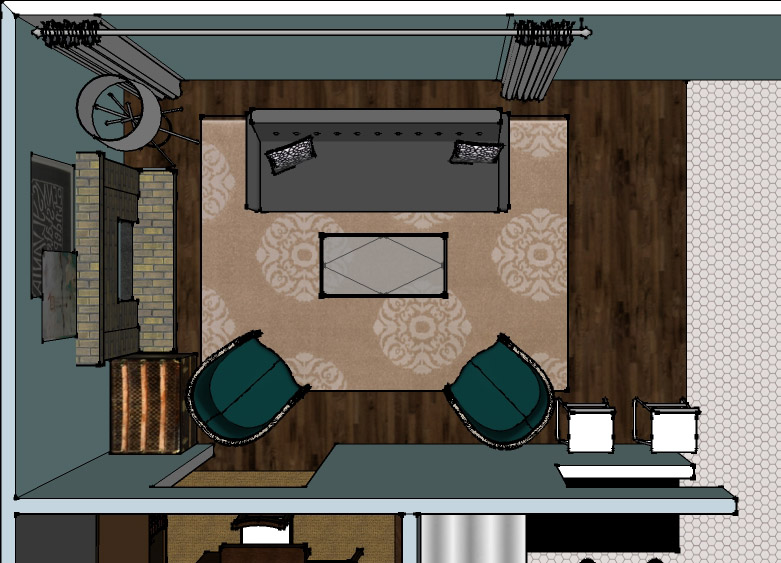
SketchUp – Living Room Layout
In the past, I’ve used a software program called SketchUp for modeling. I purchased the commercial version several years ago for a freelance project (there’s also a free version available). It’s an incredibly versatile program; it’s precise enough for architectural drawings but easy enough for the everyman. What I love most about SketchUp is the 3D Warehouse. This is a place where anyone can upload or download digital models. You can retrieve everything from models of famous landmarks to individual pieces of furniture and objects. Some corporations even upload scale models of their own products (ie: Pella windows). Often, I’m able to find models of furniture that closely resemble pieces that my clients already own, further enhancing their ability to visualize their own items in a new space. My only major problem with this software was the amount of time it was taking me to build furniture layouts. Without purchasing additional plugins, it’s a very cumbersome process to add windows and doors and furniture resizing had to be done manually using a scaling tool. To achieve a realistic appearance, it was taking me an exorbitant amount of time to complete each plan.
When I got my most recent request for a layout, I decided it was finally time to test a different program. I looked around a bit and eventually settled on floorplanner.com. It’s easy to use, specifically intended for furniture layouts, and generates pretty sophisticated 3D renderings if you purchase a monthly plan (I purchased the Pro plan since I’m using it for commercial purposes). It’s free to try. Here’s what the process looked like for my own home:
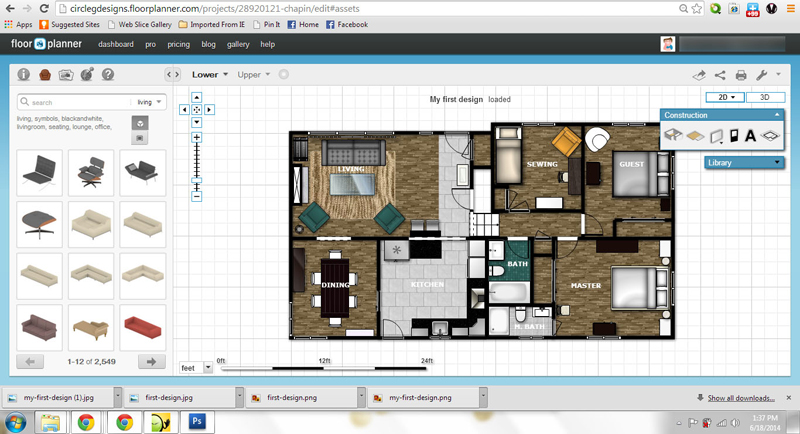
There are a series of icons in a box on the right hand side that allow you to do basic operations like draw rooms, individual walls or surfaces, and add text and dimensions. On the right hand side, you can search through and drag in structural elements (windows, doors, etc) or furniture pieces. Once items are in the model, you can click on individual elements to change dimensions, colors, and materials. Doors and windows automatically snap to walls and can be easily moved and adjusted.
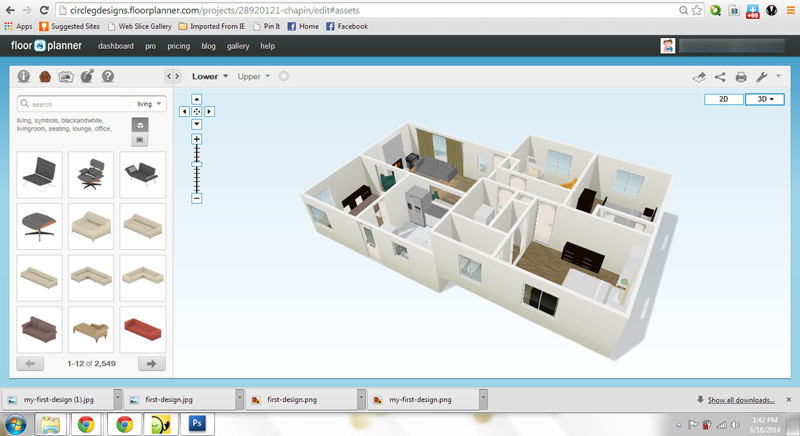
The model can also be viewed in 3D. Most adjustments have to be made in the 2D view but switching to this view helps me get a better sense of how things will realistically fit.
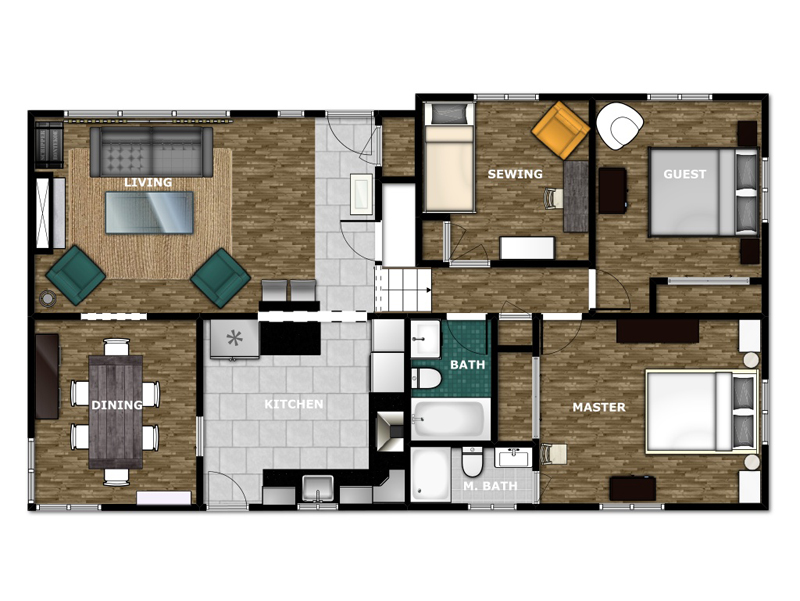
Upper Floors
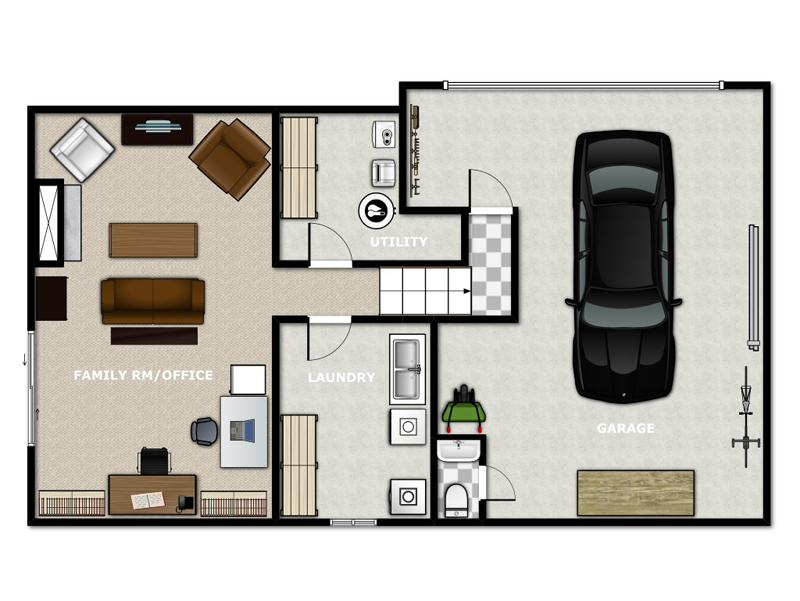
Lower Floors
When I export the 2D plan, it looks a little cartoon-y to me. Still, I appreciate being able to easily distinguish rooms with labels and distinctive floor materials. I also like that this view illustrates door swings, which people sometimes forget to leave room for.
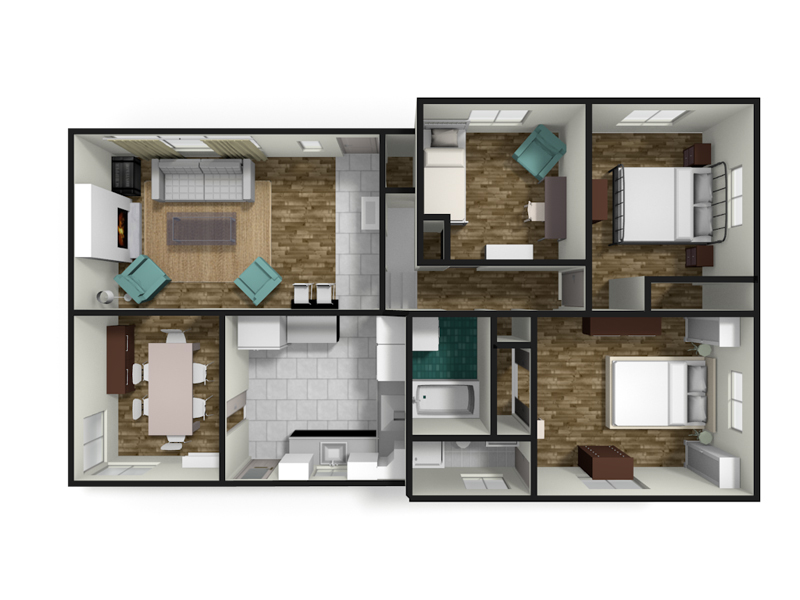
Upper Floors
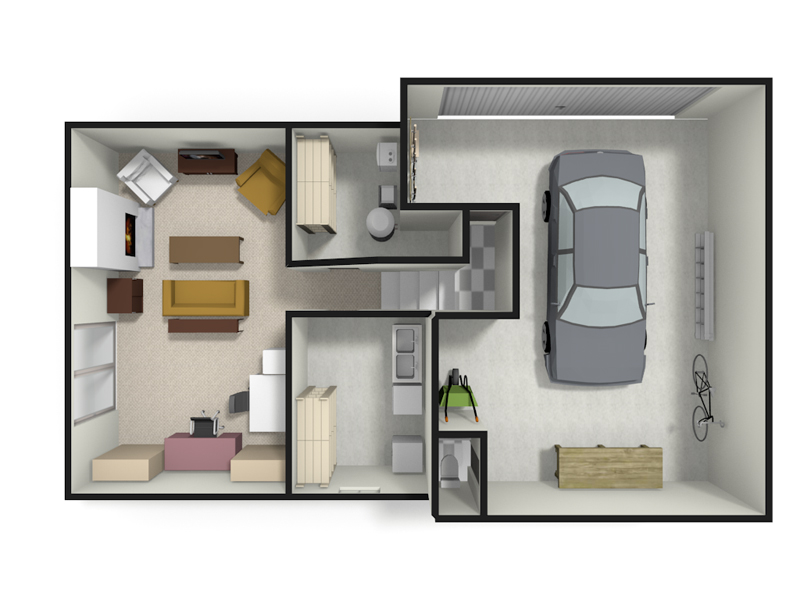
Lower Floors
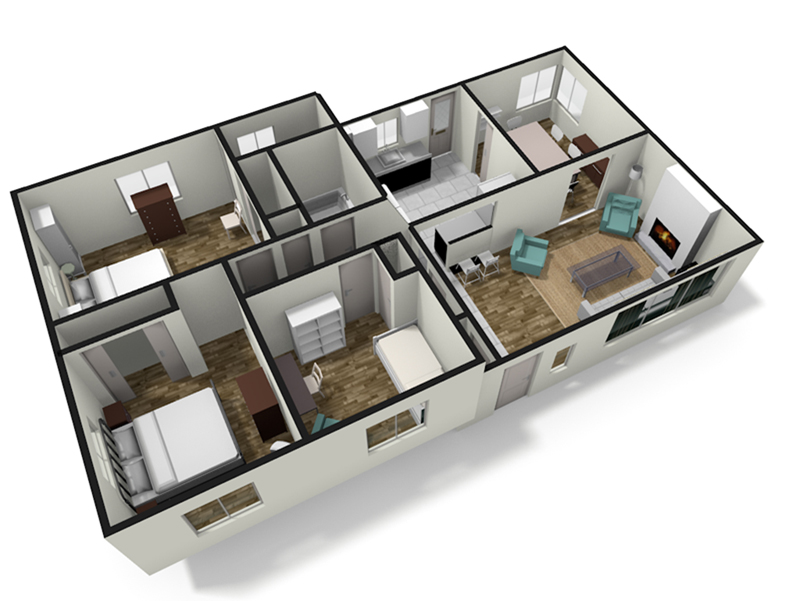
Perspective
Aesthetically, I much prefer the 3D renderings. I love the dynamism and dimension that the shadows create. I adore that when I export the rendering I can choose to automatically darken the tops of the walls (used to have to do that manually in Photoshop when I was in school!) so my client can still understand where the walls are. Floorplanner.com doesn’t apply labels in this view which is okay — I can easily label them myself later (plus the items in each room are a pretty good indication of what’s what).

To finalize the plans, I export a rendered image into a SketchUp-affiliated program called Layout. Here I can label rooms or individual pieces of furniture, as well as add whatever dimensions I feel will be useful for the client to see.
Altogether, I’m so pleased with my decision to switch to floorplanner.com. I love the results and most of all, the time I save. Anyone need a furniture layout? 🙂
June 19, 2014

Leave a Reply Cancel reply
F: 9:00am-3:00pm